


language
Transform Your Space: Creative DIY Projects Using Oak Wood Veneer
Jan 15,2026
Transform Your Space: Creative DIY Projects Using Oak Wood Veneer
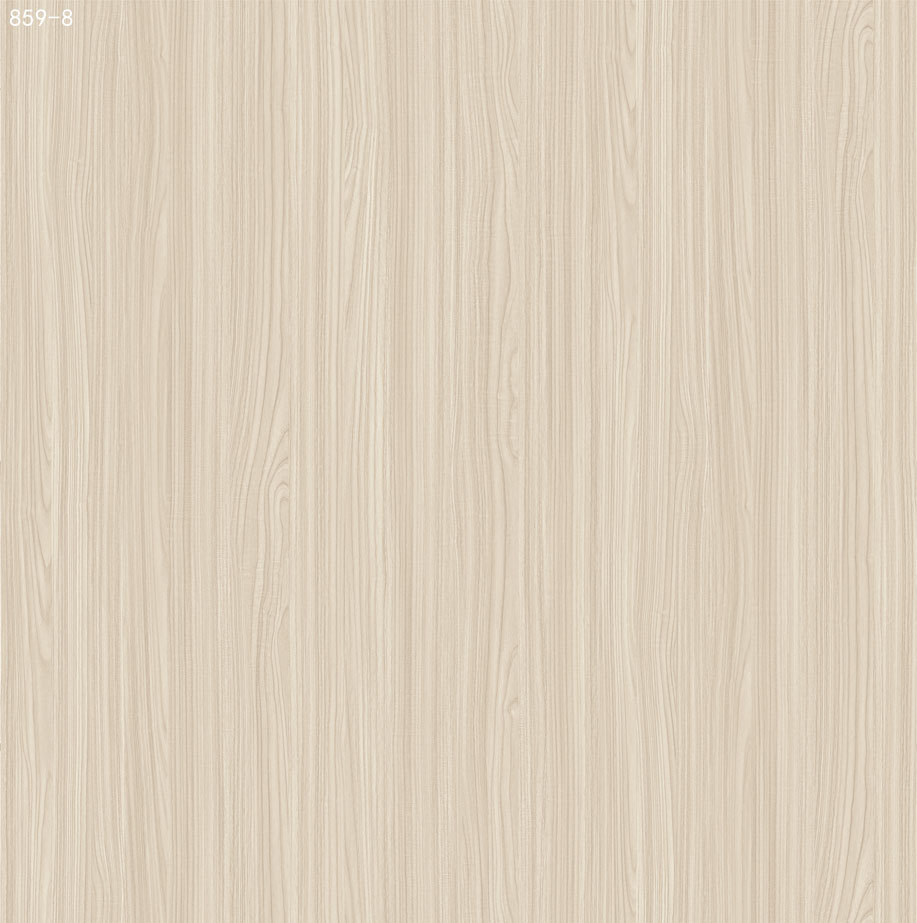
Oak wood veneer is a remarkable material that brings warmth, elegance, and a touch of nature into your living space. Whether you're a seasoned DIY enthusiast or just starting, incorporating oak wood veneer into your home projects can elevate your style while being budget-friendly. In this comprehensive guide, we will explore various innovative DIY projects that leverage the beauty and versatility of oak wood veneer, along with practical tips and techniques to ensure your success.
Table of Contents
1. Understanding Oak Wood Veneer
2. Benefits of Using Oak Wood Veneer in DIY Projects
3. Essential Tools and Materials for Oak Wood Veneer Projects
4. Top DIY Projects with Oak Wood Veneer
4.1 Creating Custom Furniture
4.2 Revamping Your Home Decor
4.3 Designing Unique Wall Art
4.4 Crafting Functional Kitchen Accessories
4.5 Building Stylish Storage Solutions
5. Tips for Working with Oak Wood Veneer
6. Maintenance and Care for Oak Wood Veneer
7. Frequently Asked Questions (FAQs)
8. Conclusion
1. Understanding Oak Wood Veneer
Oak wood veneer is a thin layer of oak wood that is sliced from a log, providing the appearance of solid oak without the weight or cost. It is an excellent choice for various applications, including furniture making, cabinetry, and decorative accents. The natural grain patterns and rich color of oak enhance the aesthetic appeal of any project, making it a popular choice among DIY enthusiasts.
2. Benefits of Using Oak Wood Veneer in DIY Projects
When considering materials for your DIY projects, oak wood veneer offers numerous benefits:
- **Cost-Effective**: Compared to solid wood, oak veneer is significantly cheaper, allowing you to achieve a luxurious look without breaking the bank.
- **Lightweight**: Veneer is lighter than solid wood, making it easier to handle and maneuver during your projects.
- **Eco-Friendly**: Using veneer conserves resources, as it requires less wood than solid lumber for the same visual effect.
- **Versatile**: Oak veneer can be applied to various surfaces, including furniture, walls, and decor items, providing endless possibilities for creativity.
3. Essential Tools and Materials for Oak Wood Veneer Projects
Before diving into your DIY projects, gather the following tools and materials to ensure a smooth workflow:
- **Oak Wood Veneer Sheets**: Available in various sizes and thicknesses, choose the right one for your project.
- **Plywood or MDF Base**: This will serve as the substrate for your veneer application.
- **Adhesive**: Use a strong wood glue or contact cement specifically designed for veneer application.
- **Utility Knife**: For cutting the veneer to the desired size.
- **Ruler and Straight Edge**: Essential for measuring and ensuring straight cuts.
- **Sanding Block**: For smoothing edges and preparing surfaces for finishing.
- **Finish**: Varnish or polyurethane to protect and enhance the appearance of your completed projects.
4. Top DIY Projects with Oak Wood Veneer
Now that you understand the material and have gathered your tools, let’s explore some exciting DIY projects that incorporate oak wood veneer.
4.1 Creating Custom Furniture
One of the most rewarding projects you can undertake is creating custom furniture. Oak veneer can be used to cover surfaces of tables, chairs, and cabinets, giving them a fresh, modern look.
**Steps:**
1. Choose a piece of furniture to revamp, such as a tired coffee table.
2. Measure and cut the veneer to fit the surfaces.
3. Apply adhesive and carefully place the veneer, smoothing out any bubbles.
4. Once the glue has dried, sand the edges for a seamless finish.
5. Finish with a protective layer of varnish to enhance durability.
4.2 Revamping Your Home Decor
Another creative way to utilize oak veneer is by revamping existing decor items. From picture frames to lamp bases, a simple veneer application can transform the look of everyday objects.
**Steps:**
1. Select decor items that need a refresh.
2. Measure the areas you want to cover with veneer.
3. Cut the veneer accordingly and attach it using glue.
4. For added flair, consider staining the veneer or applying a gloss finish.
4.3 Designing Unique Wall Art
Oak wood veneer can also be used to create stunning wall art that adds character to your home.
**Steps:**
1. Gather an assortment of veneer scraps in various shapes and sizes.
2. Arrange them on a canvas or wooden board to create a unique design.
3. Secure the pieces with glue and allow them to dry.
4. Hang your masterpiece to instantly elevate your wall decor.
4.4 Crafting Functional Kitchen Accessories
Incorporating oak veneer into kitchen accessories can bring both beauty and practicality to your cooking space. Items like cutting boards, trays, and serving platters can be crafted from this material.
**Steps:**
1. Cut the plywood or MDF to the desired size and shape for your kitchen accessory.
2. Apply oak veneer to the top surface, ensuring it's well-adhered.
3. Sand the edges and finish with a food-safe sealant to protect it from moisture.
4.5 Building Stylish Storage Solutions
Oak veneer can also be utilized in building stylish storage solutions, such as bookshelves or storage boxes, that are not only functional but also aesthetically pleasing.
**Steps:**
1. Design your storage solution, determining dimensions and layout.
2. Cut the plywood or MDF for the base structure.
3. Apply oak veneer to the visible surfaces, sanding edges for a clean appearance.
4. Assemble your storage solution, finishing with a protective coat.
5. Tips for Working with Oak Wood Veneer
When working with oak wood veneer, consider the following tips to achieve the best results:
- **Plan Your Cuts**: Always measure twice and cut once to ensure accuracy.
- **Use Quality Adhesives**: Selecting the right adhesive will impact the durability of your veneer application.
- **Be Patient**: Allow adequate drying time between steps to ensure strong bonds.
- **Practice on Scraps**: If you’re new to veneering, practice on scrap pieces before tackling your main project.
6. Maintenance and Care for Oak Wood Veneer
To keep your oak veneer projects looking their best, follow these maintenance tips:
- **Dust Regularly**: Use a soft cloth to wipe away dust and prevent the build-up of dirt.
- **Avoid Excessive Moisture**: Keep veneer surfaces dry to prevent warping or damage.
- **Use Coasters and Mats**: Protect your veneer furniture and accessories with coasters and placemats to prevent scratches and moisture damage.
7. Frequently Asked Questions (FAQs)
What is oak veneer, and how is it different from solid oak?
Oak veneer is a thin layer of oak wood, whereas solid oak is a full piece of wood. Veneer provides the appearance of solid oak with less weight and cost.
Can I apply oak veneer to any surface?
Generally, oak veneer can be applied to any clean, smooth surface, including MDF, plywood, and even some metals.
How do I cut oak veneer without damaging it?
Using a sharp utility knife and a straight edge will help you achieve clean cuts without tearing the veneer.
Is oak veneer durable for everyday use?
Yes, with proper care and maintenance, oak veneer can be quite durable and suitable for everyday use.
Can I stain or paint oak veneer?
Yes, oak veneer can be stained or painted to enhance its appearance, provided you use compatible products that won’t damage the veneer.
8. Conclusion
Incorporating oak wood veneer into your home DIY projects opens up a world of creative possibilities. Its beauty, versatility, and affordability make it an excellent choice for enhancing your living space. By engaging in the projects outlined in this guide, you will not only transform your home but also develop your skills as a DIY enthusiast. From custom furniture to unique decor, oak veneer is a fantastic material that allows your creativity to shine. Embrace the journey of crafting with oak wood veneer, and watch your home become a reflection of your personal style.
Get a free quote
We welcome your inquiries. Tell us about your project to get a free quote.
Contact Us
Address: No. 3, Xinyuan 1st Road, Jili Industrial Park, Nan Zhuang Town, Chancheng District, Foshan City, Guangdong Province


Foshan Zhonghong Decoration Materials Co., Ltd.Technical Support:China Enterprise Network Shunde |SEO
Business License